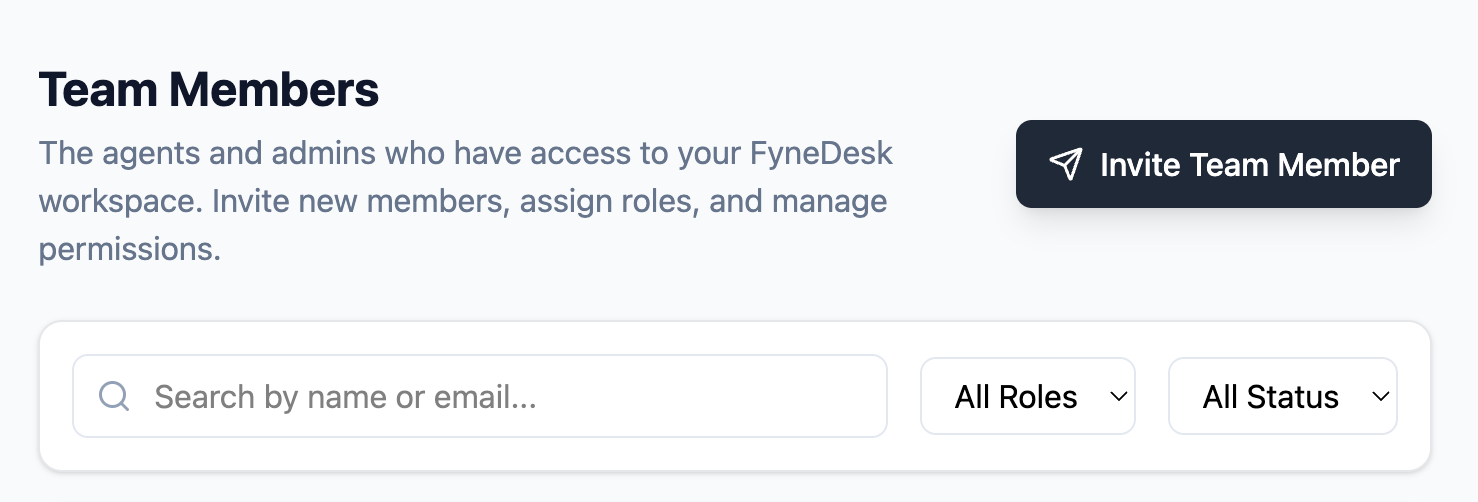
Inviting Team Members
Add agents and admins to your FyneDesk workspace using the invitation system. Understand what each role can do before you assign it.
User roles in FyneDesk
Every person in your FyneDesk workspace has one of three roles. The role controls what they can see and do.
How invitations work
FyneDesk uses an invitation-based system to add team members. Instead of creating an account directly, you send an invitation to the person's email address. They receive a link, click it, set a password, and are added to your organization automatically.
This prevents new users from accidentally creating a separate, disconnected workspace instead of joining yours.
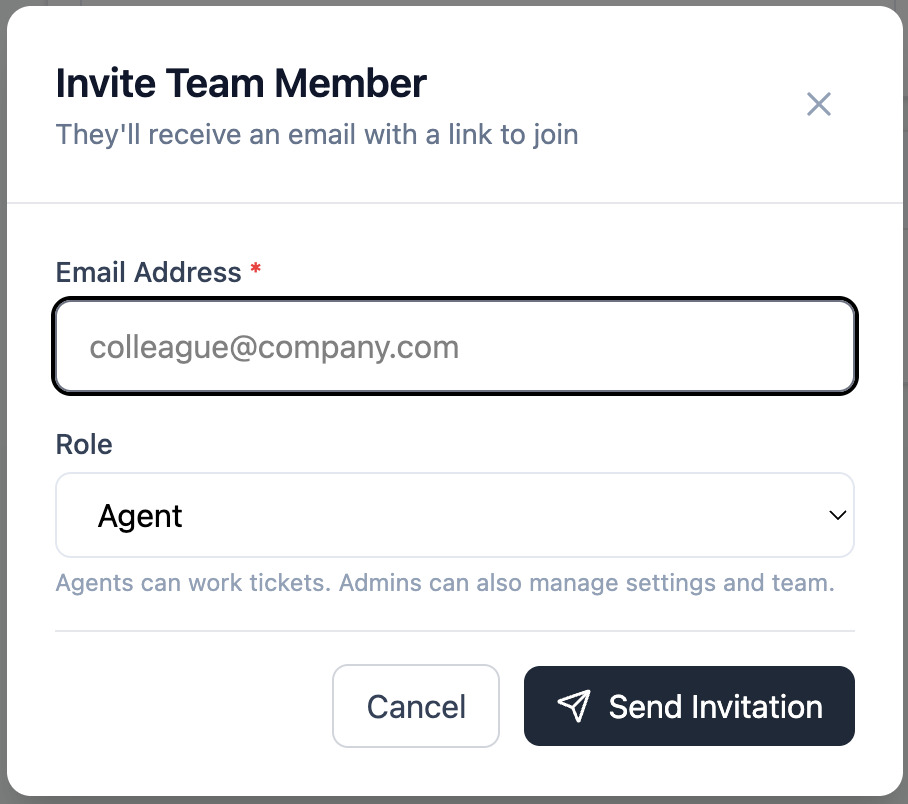
Inviting someone
You need to be an Admin to invite team members. Go to Settings → Users in your FyneDesk app.
- 1 Click the Invite User button in the top-right corner of the Users page.
- 2 Enter the person's email address and select their role (Admin, Agent, or End User).
- 3 Click Send Invitation. FyneDesk emails them a secure invitation link.
What the invited person sees
The invitee receives an email with a link to accept the invitation. When they click it, they are taken to a page where they set their full name and password. After completing this, they are logged in and added to your organization.
They do not need to go through the normal signup flow — the invitation handles everything.
Managing existing users
From the Users page, Admins can:
- See all team members and their current roles
- Change a user's role (Admin to Agent, Agent to End User, and so on)
- Deactivate a user to prevent them from logging in without deleting their data
- Re-send a pending invitation if it hasn't been accepted yet
Deactivating a user
When a team member leaves, deactivate their account rather than deleting it. Deactivation immediately blocks them from logging in while preserving their ticket history and comments. Their past work stays intact and attributed to them.
To deactivate: find the user on the Users page, open their options, and select Deactivate.
Frequently asked questions
Can someone join my organization without an invitation?
No. FyneDesk's signup flow detects if a person's email domain matches an existing organization and prompts them to request an invitation instead of creating a new workspace. This prevents organizational fragmentation.
Can an Agent invite other users?
No. Only Admins can invite users and manage roles.
What if the invitation email doesn't arrive?
Ask them to check their spam or junk folder. If it's not there, go to the Users page, find the pending invitation, and resend it.
Can I change a user's role after they've joined?
Yes. Go to the Users page, find the user, and change their role from the options menu. The change takes effect immediately on their next page load.